
Hello, hello, hello, my fair weather gardeners! Bad Gnome here with many confessions, one of which is how we built our raised beds. We love our raised bed gardens here at BGG and finally we will show you step by step on how to build one or many if you are like us and love to grow stuff in them.
What is a Raised Bed Garden?
Well, gather ’round you whippersnappers, and listen closely! It’s time for me to tell you the story of raised bed gardens. I’m only going to do this once, so pay attention! And once I’m done, I’m going on a beer run, because I’ve earned it! Actually I have the finish this post first but then I can quench the thirst of this mighty and tenacious gnome.
It all began a long, long time ago, around 2000 years ago, when the ancient Romans started using raised bed gardens in their villas. Or, so I’ve heard. Those fancy folks knew what they were doing, but it took a while for the rest of the world to catch on. Fast forward to medieval Europe, around the 14th century, and those monks were using raised beds for their medicinal plants. Smart fellas, those monks, but they’d never admit they got the idea from the Romans.
Why build a 4 foot by 8 foot bed?
Now, let’s talk about that 4 foot by 8 foot structure you youngsters are always yammering about. Four by eight, huh? It’s not just some random size, you know. There’s a reason behind it. This size makes it easy for folks to reach into the bed without having to step on the soil. See, even an old gnome like me knows you shouldn’t go stepping on your garden soil, compacting it like some sort of clumsy ogre. You want your roots to breathe, for goodness’ sake!
As for being easy to build, well, that’s true too. A 4×8 raised bed can be put together quicker than I can finish this here story. All you need is some wood, some screws, and a bit of elbow grease. Or, if you’re feeling particularly lazy, you can buy a pre-made kit. Just don’t expect me to help you put it together. I’ve got my own garden to tend to, thank you very much.
So, there you have it, the history and benefits of raised bed gardens, as told by yours truly, Bad A. Gnome. Now, if you’ll excuse me, I’ve got a beer run to make. These stories don’t tell themselves, you know, and a gnome’s gotta have his refreshments! While I am on my beer run, Shawn will tell you how to make this thing happen.
How to Build a 4-foot by 8-foot Raised Bed Garden
To create a 4-foot x 8-foot raised bed garden, you will be using three 2 x 12 x 8 pressure-treated planks of wood and five 2 x 4 x 8’s for a ledge around the perimeter and interior supports Please follow the instructions below:
Materials:
- Three 2 x 12 x 8 pressure-treated planks (for the sides of the raised bed)
- Six 2 x 4 x 8 pressure-treated wood (for the ledge and supports)
- Cardboard (to line the bottom)
- 1/4-inch hardware cloth (to cover the bottom)
- 25 bags of 2 cubic feet organic raised bed soil
- 3-inch deck screws and/or 16d 3-inch exterior nails
- 1-inch staples or U-nails (to attach hardware cloth)
- Optional: landscape fabric (to prevent weeds)
Tools:
- Tape measure
- Circular saw, miter saw, or handsaw
- Pneumatic nailer (or just use screws)
- Hammer
- Power drill
- Staple gun or hammer
- Level
- Square
- Pencil
- Work gloves
- Safety goggles
- A cooler full of cold beer
Instructions
Cutting the wood:
- Cut one of the 2 x 12 x 8 planks in half which should be 48 inches
- Cut one the 2 x 4 x 8 pieces in half which would be 48 inches
- Cut down one 2 x 4 x 8 piece into the following:
- Two 36-inch pieces which will leave 24 inches remaining which will be for internal supports
- Repeat the process on another 2 x 4 x 8 as specified step three. You should end up with a total of four 36 inch pieces and two 24 inch pieces
- Cut another 2 x 4 x 8 into four 24 inch pieces
- Finally cut down the remaining two 2 x 4 x 8 pieces to 92 3/4 inches each.
Assembling the raised bed:
Lay out and attach the sides
- Lay out the four 2 x 12 planks on a flat surface, with the 8-foot-long pieces parallel to each other and the 4-foot-long pieces perpendicular, creating a rectangle.

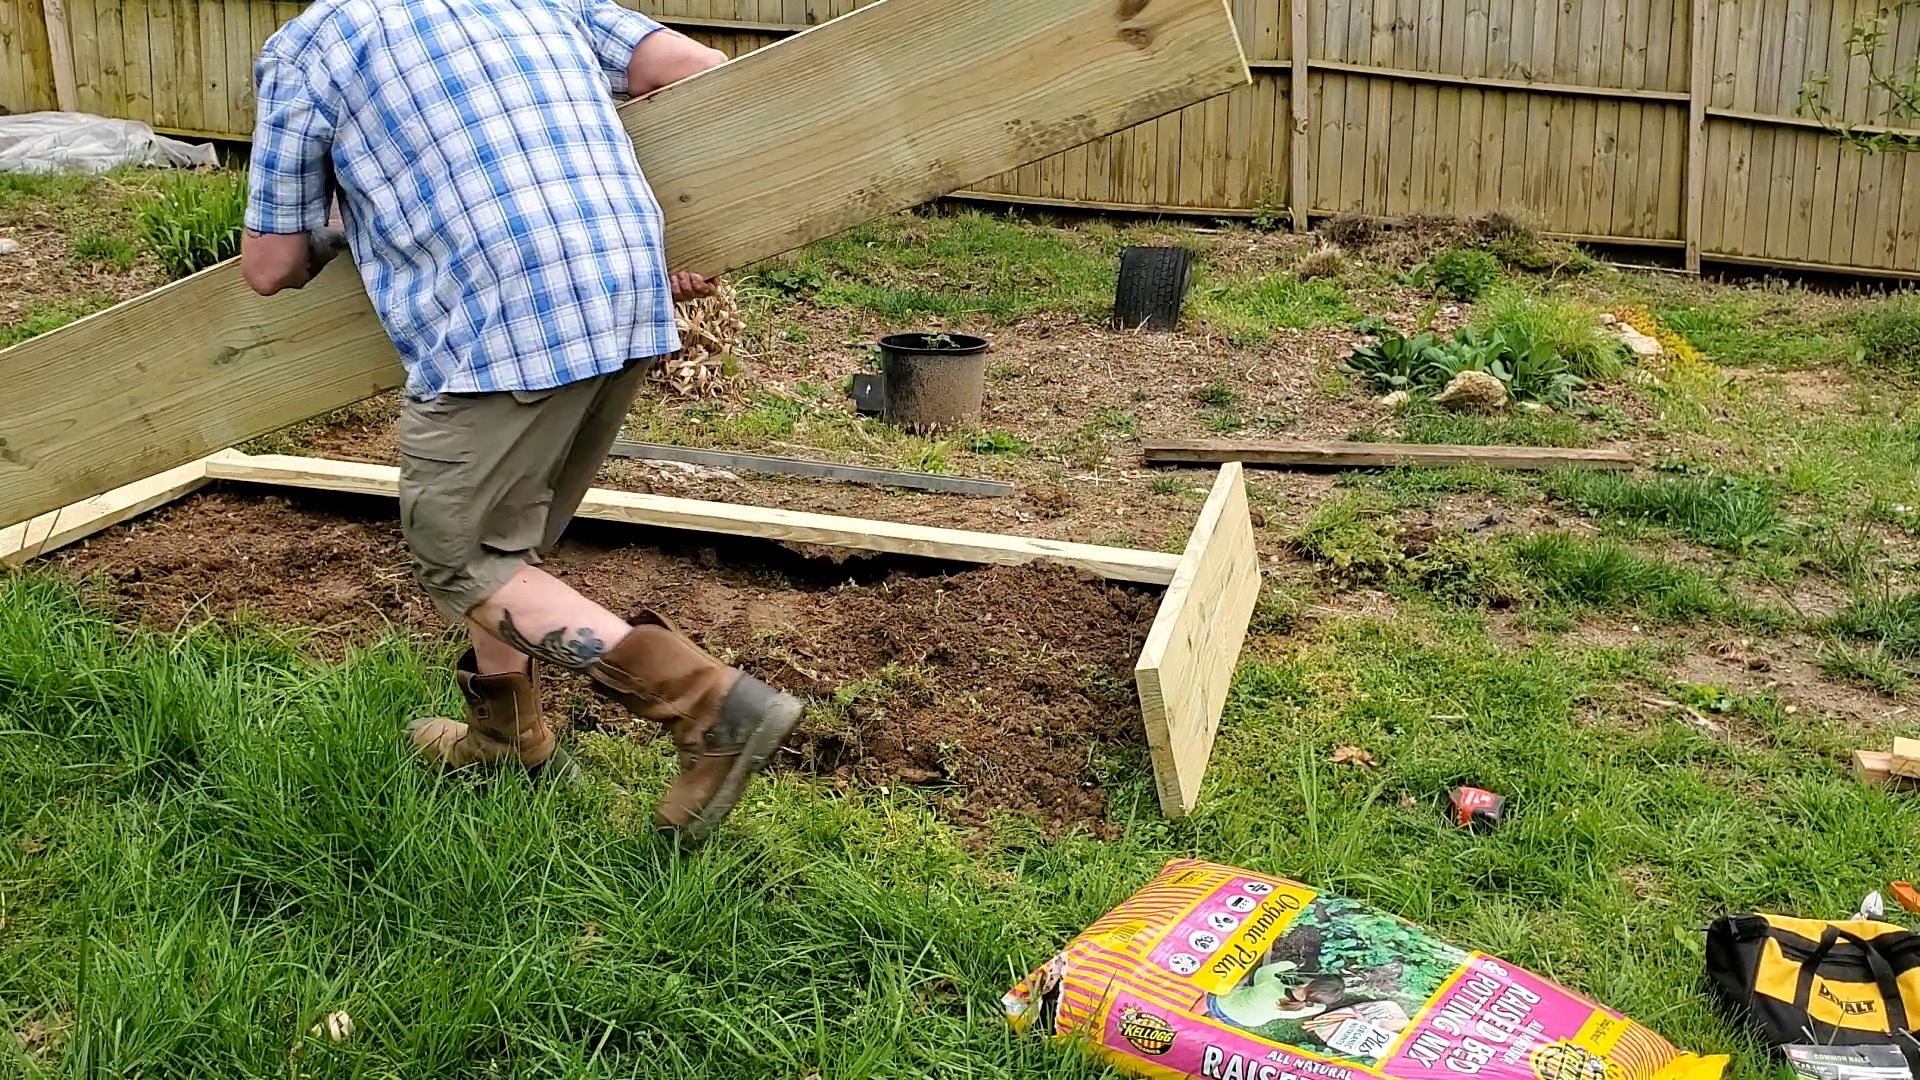
- Attach one of the 4-foot sides to the 8-foot side where they meet at a 90-degree angle using screws or nails.
- Repeat step 2 for the remaining three sides.
Attach the interior supports
- Attach one of the 36-inch-long 2 x 4 interior supports horizontally to the inside of the 4-foot side of the rectangle using 3-inch wood screws or nails. Center the piece on the 4-foot section which will leave a small gap on each side with is perfectly fine. Also ensure that the edges are flush with one another and use a square to check for right angles. Repeat the same process for the other side using another 36-inch plank.
- In a similar fashion to step 2, attach a 36-inch piece of wood to the interior of each long side of the structure. Keep in mind that the piece should be centered so that on either side a 24-inch piece can be added.
- Attach the remaining 24-inch pieces on either side of the 36-inch pieces that were installed in step 5.
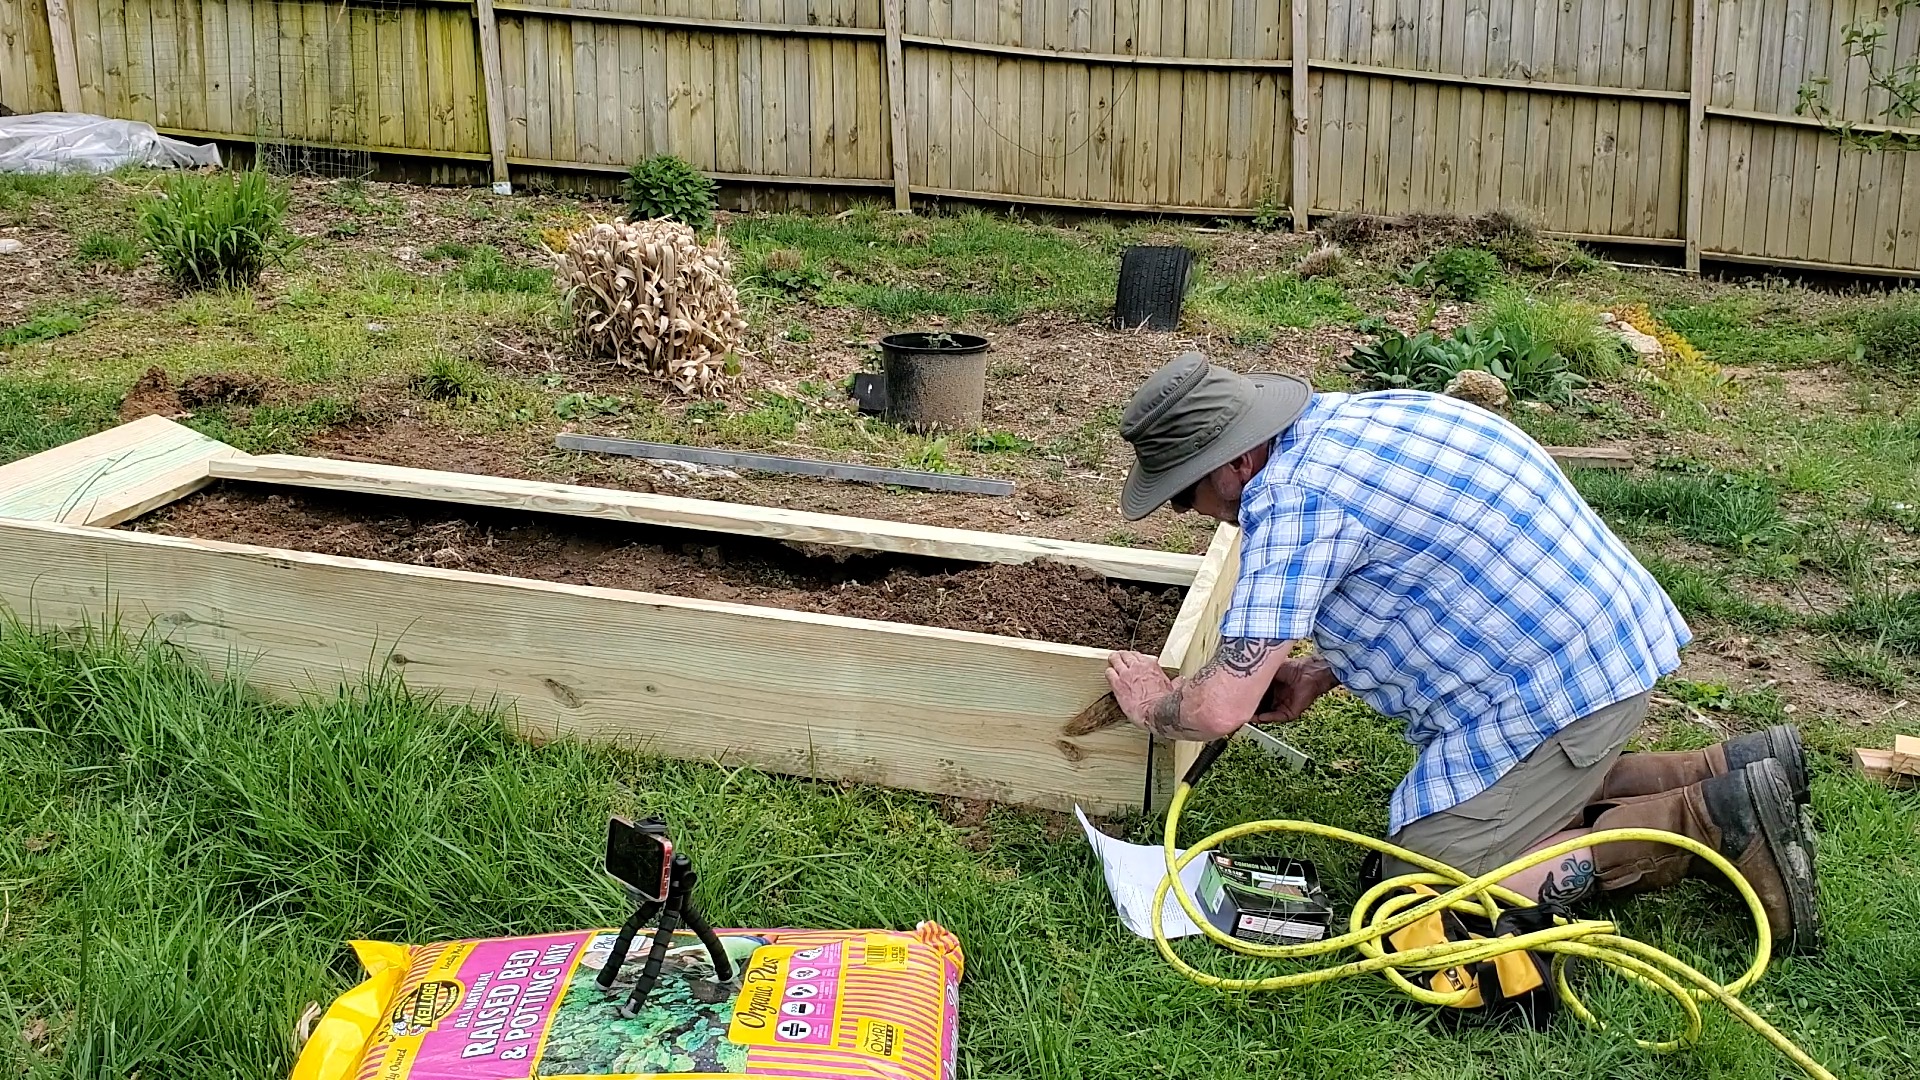
Attach the ledge
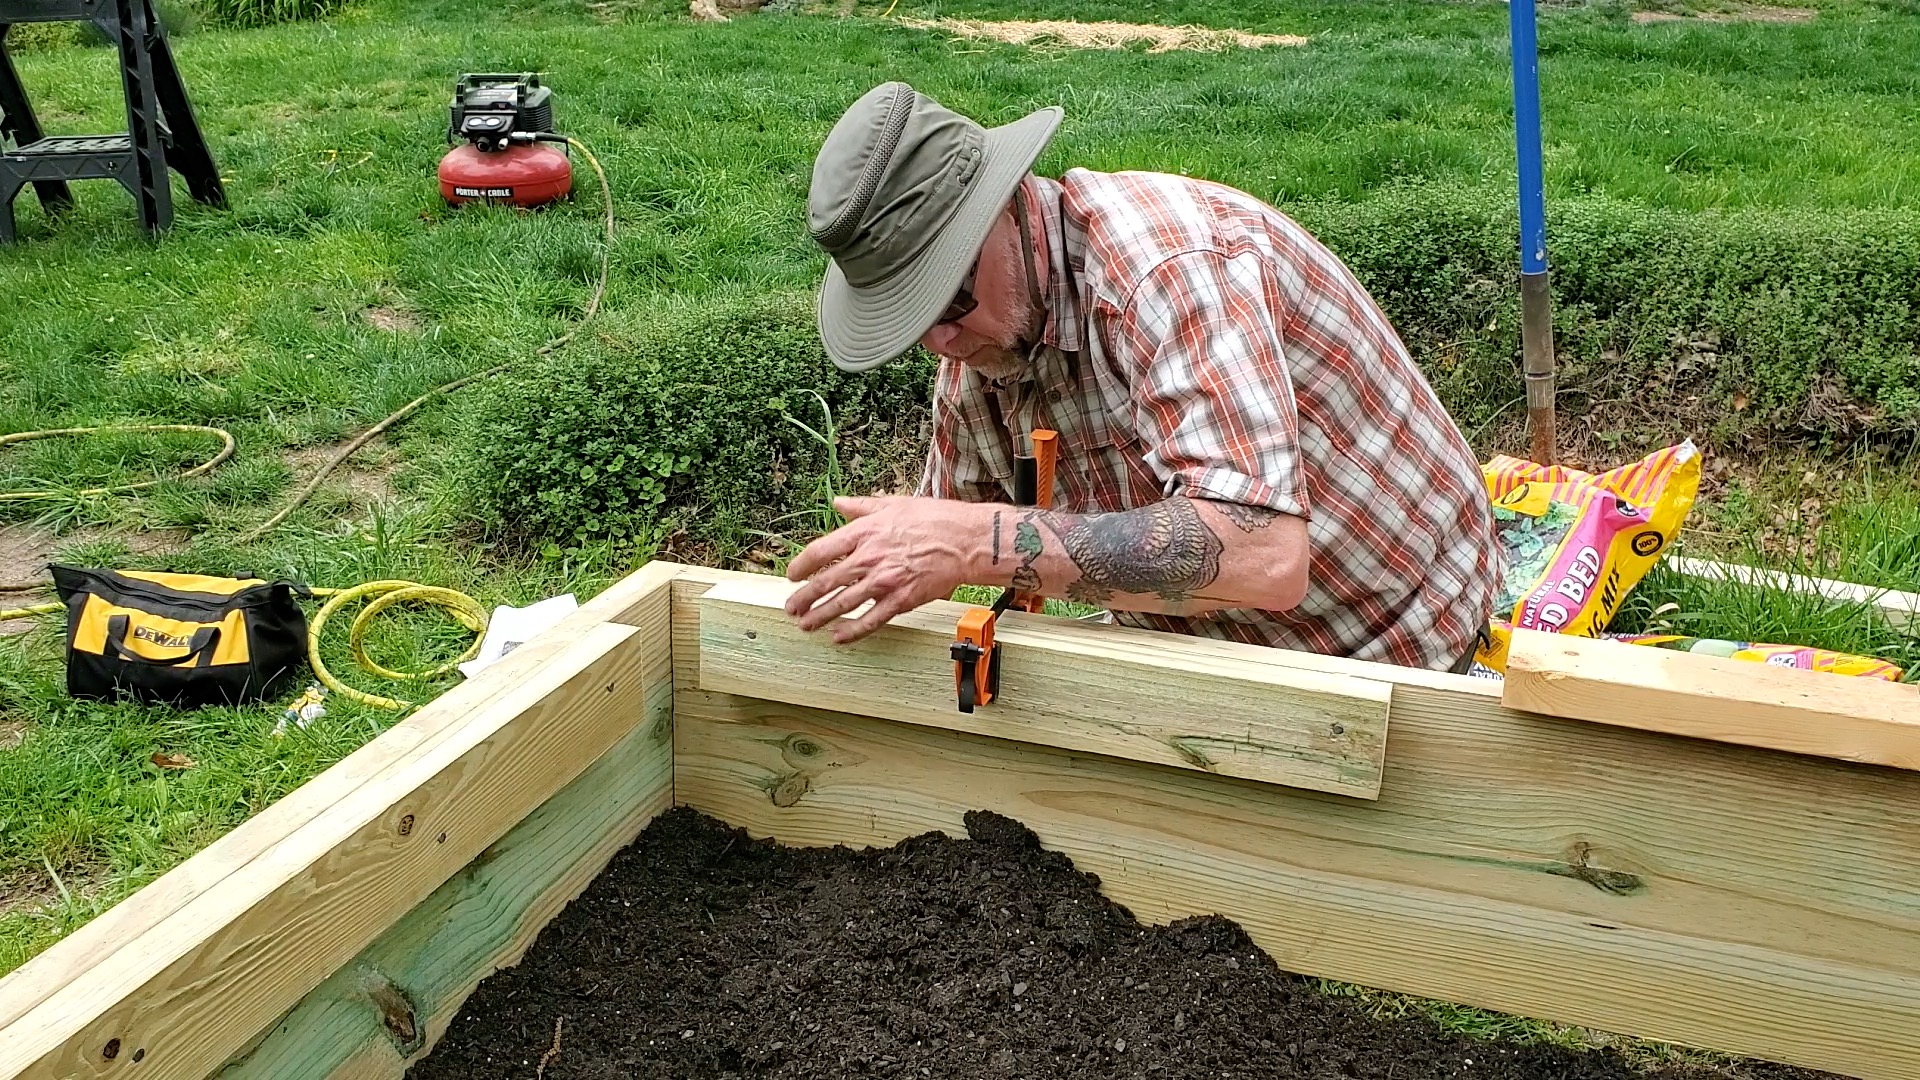
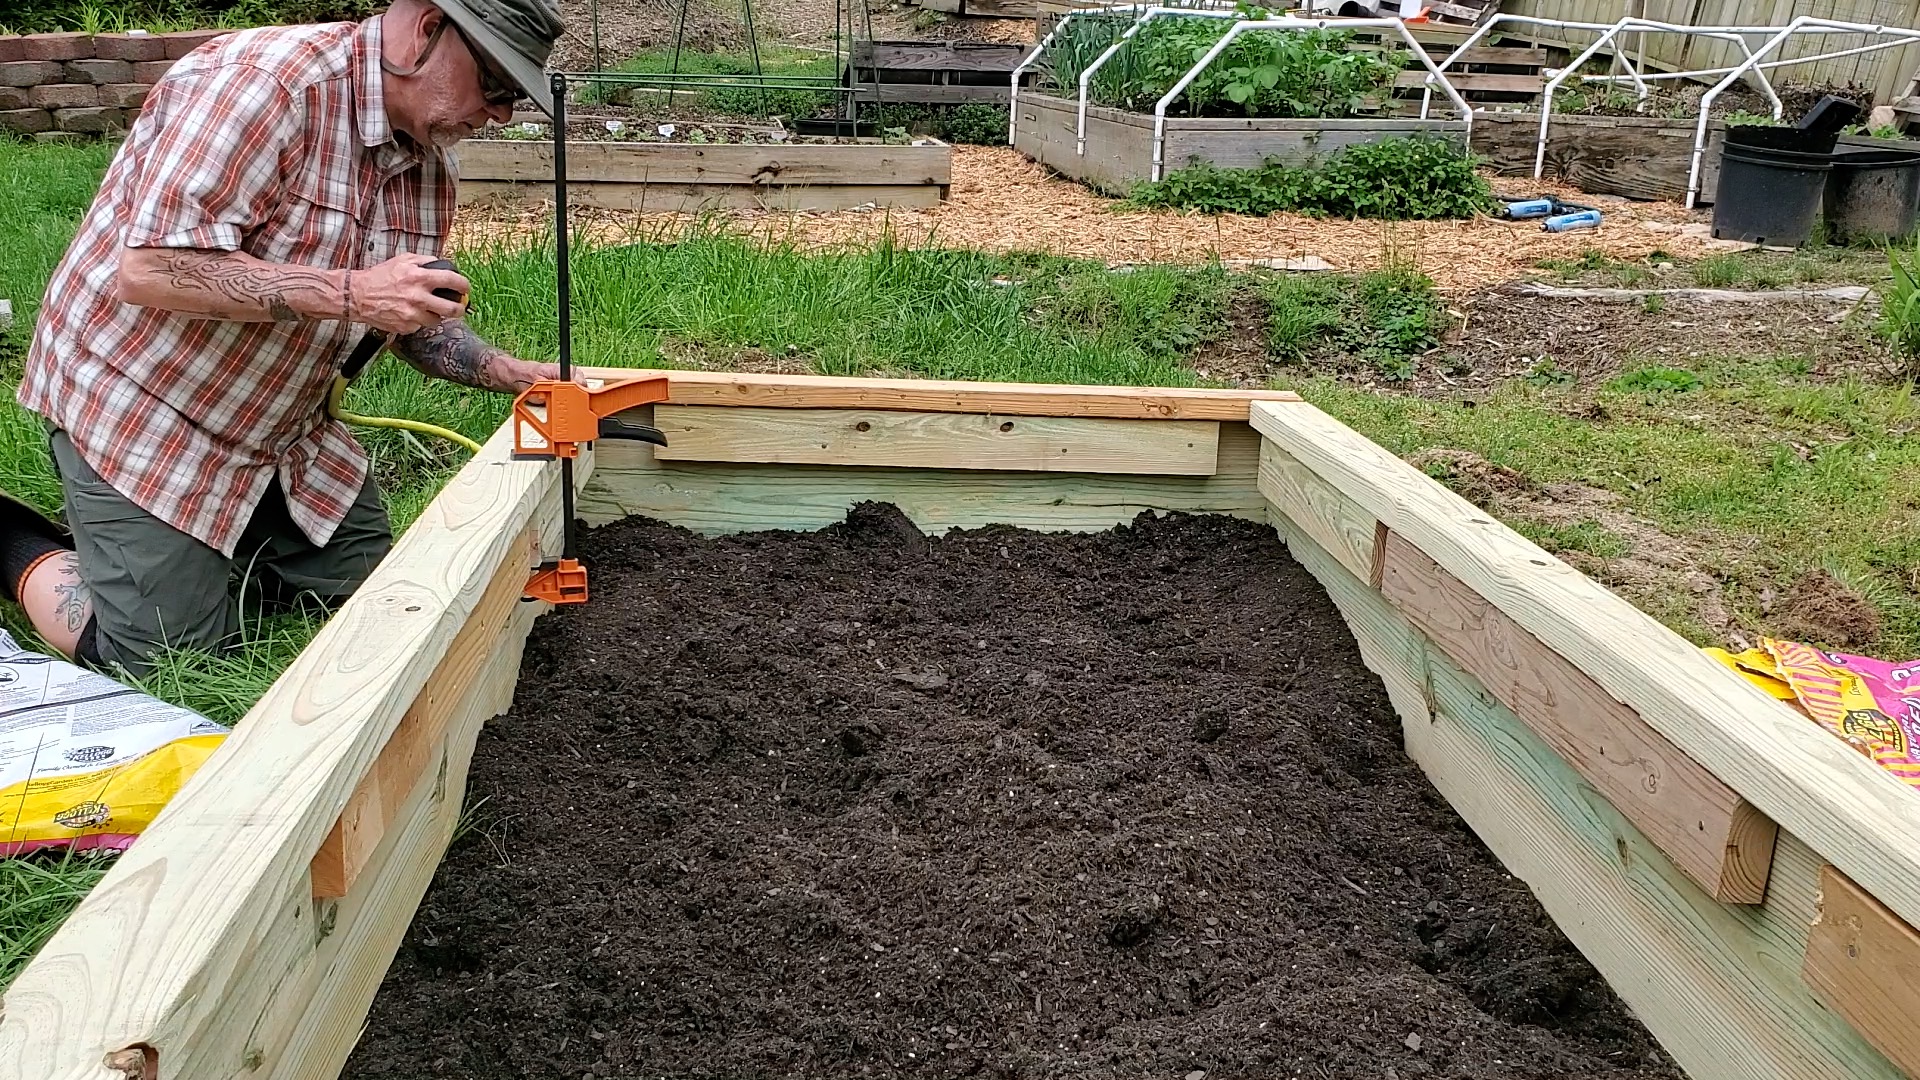
- Place the two 4-foot-long 2 x 4 ledge pieces and the two long 2 x 4 ledge pieces on top of the 2 x 12 planks. Make sure everything lines up nicely, make adjustments as needed, and clamp it down if you can.
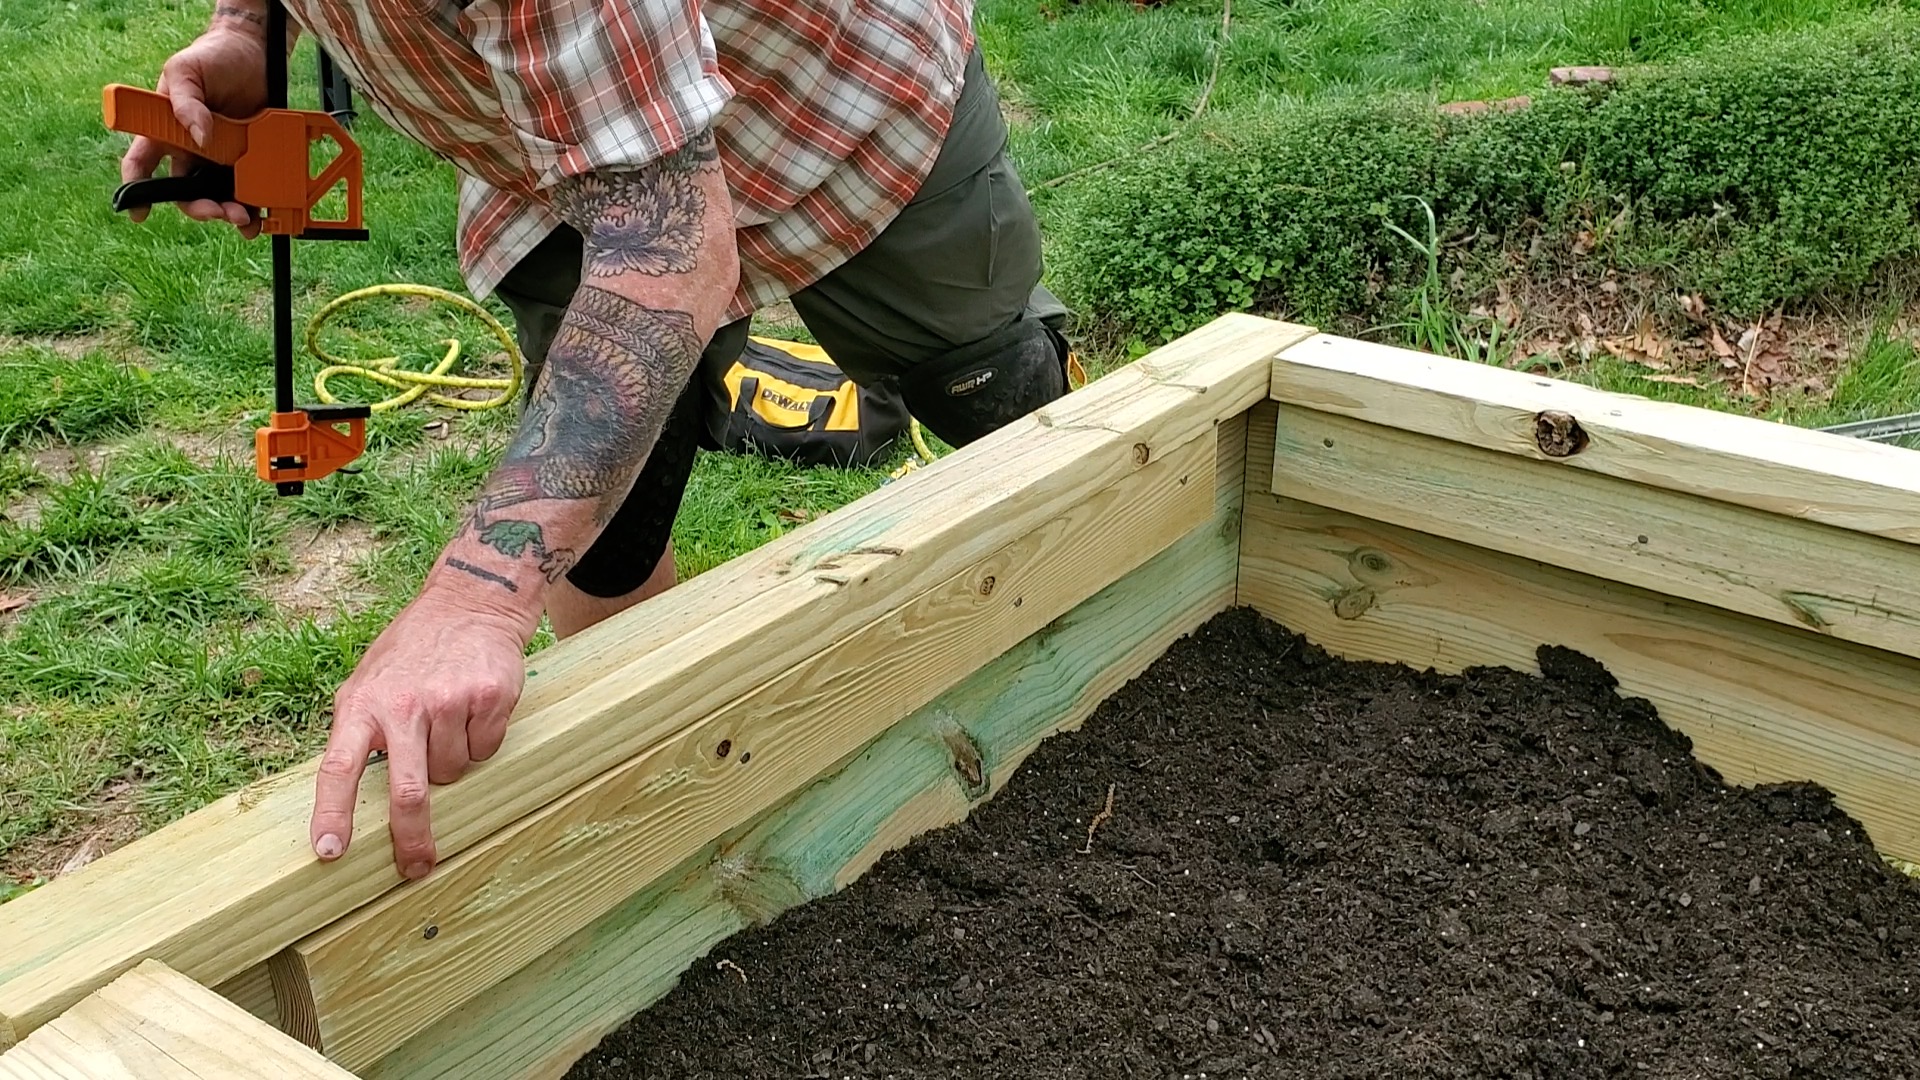
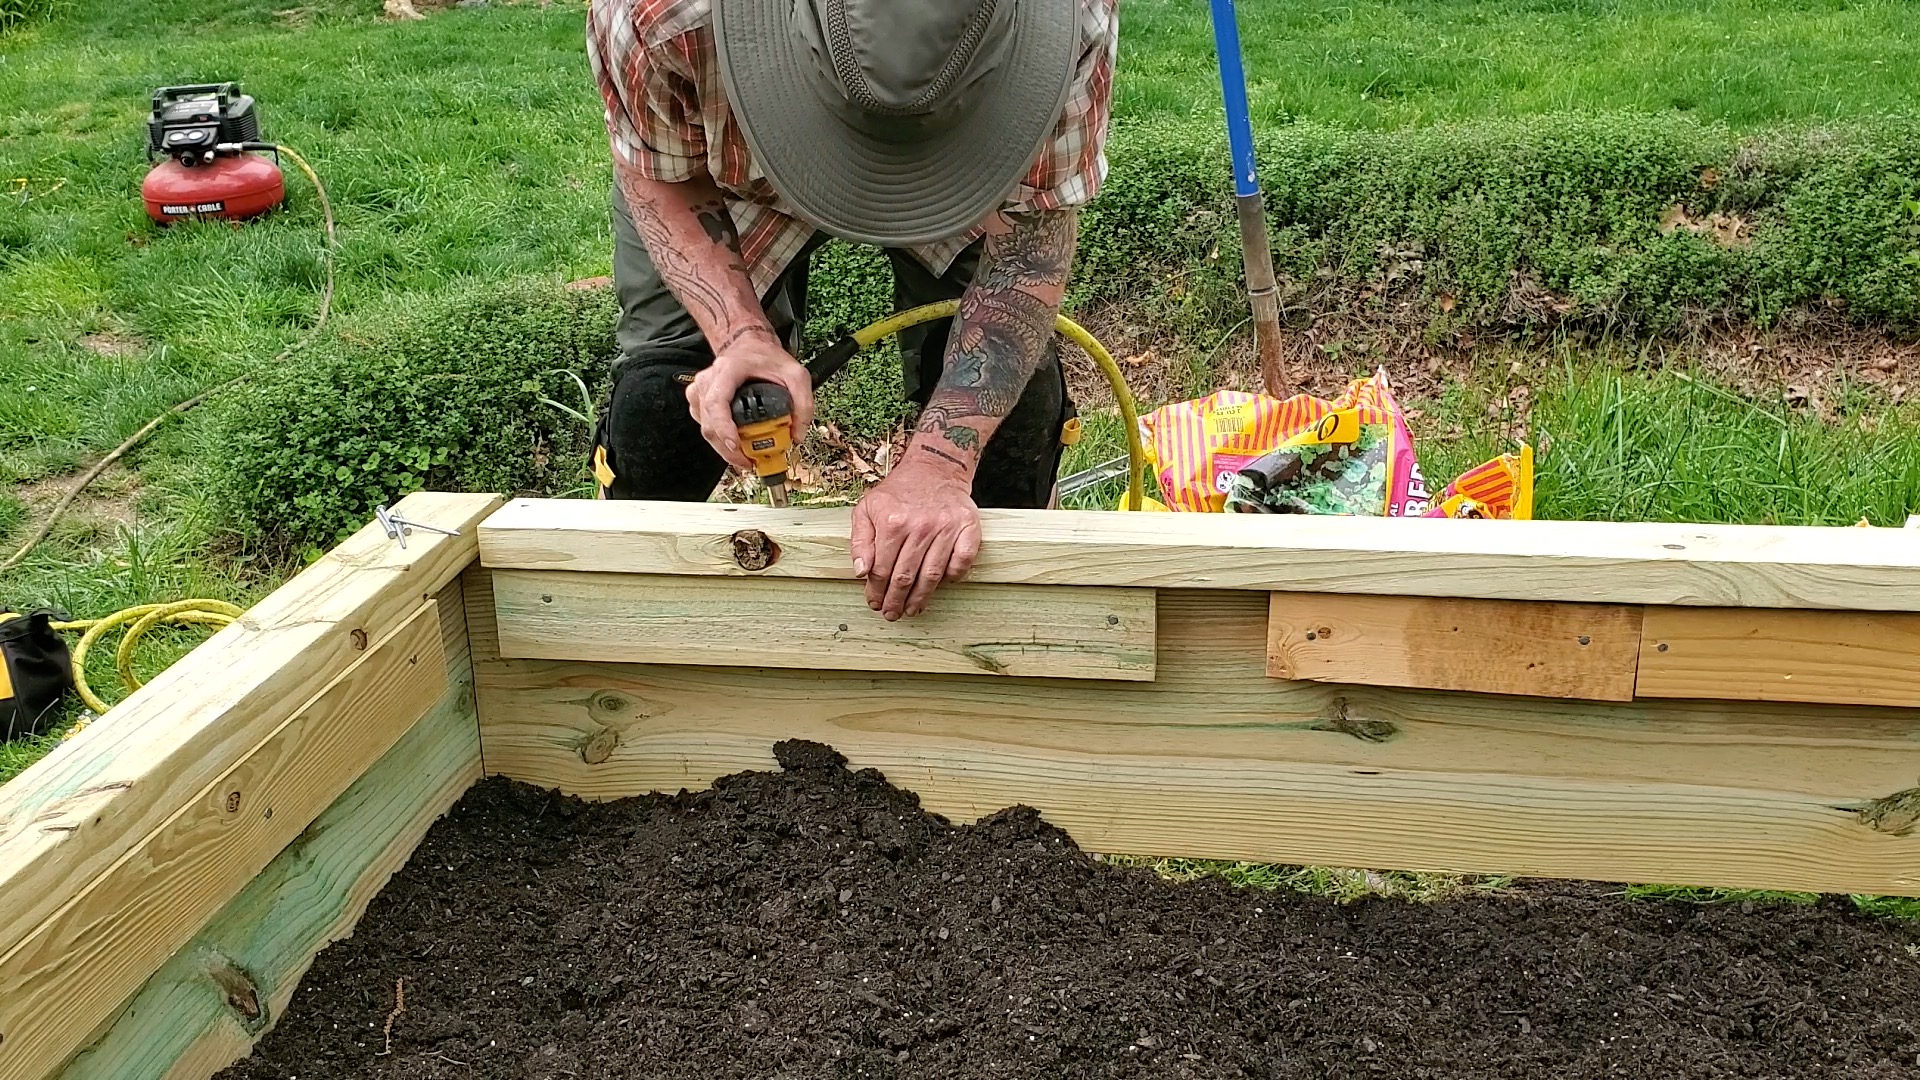
- Now attach the two 4-foot-long 2 x 4 ledge pieces on top of the 2 x 12 planks to create the perimeter ledge. The ledge pieces should be flush with the exterior edges of the 2 x 12 planks. Secure them using 3-inch wood screws or nails, ensuring they are well-fastened to the interior supports. Stagger the screws and nails as to periodically attach to the outer wall and then the internal support. This will ensure the structure stays straight and boards don’t twist while they weather.
- Finally attach the two 8-foot-long 2 x 4 ledge pieces on top of the 2 x 12 planks to create the perimeter ledge. The ledge pieces should be flush with the exterior edges of the 2 x 12 planks. Secure them using 3-inch wood screws or nails, ensuring they are well-fastened to the interior supports. Follow the same advice given in step 7.
Preparing the inside of the raised bed:
- Cut a piece of cardboard large enough to cover the entire bottom of the raised bed (4 feet x 8 feet). Or use multiple boxes to cover the entire length of the bed. Place the cardboard inside the raised bed to line the bottom. You do not have to remove grass or weeds in this process as the cardboard will kill both.
- Cut a piece of 1/4-inch hardware cloth to the same dimensions as the cardboard (4 feet x 8 feet). Lay it on top of the cardboard, ensuring it covers the entire bottom surface. Be sure to wear clothes or you will bleed. Bad Gnome meant to say gloves there but it sounded funny so we left it in.
- Optionally attach the hardware cloth to the sides of the raised bed using 1-inch staples or U-nails. Make sure it is secure and tight to prevent rodents from entering the garden bed. We typically skip this step.
Filling the raised bed:
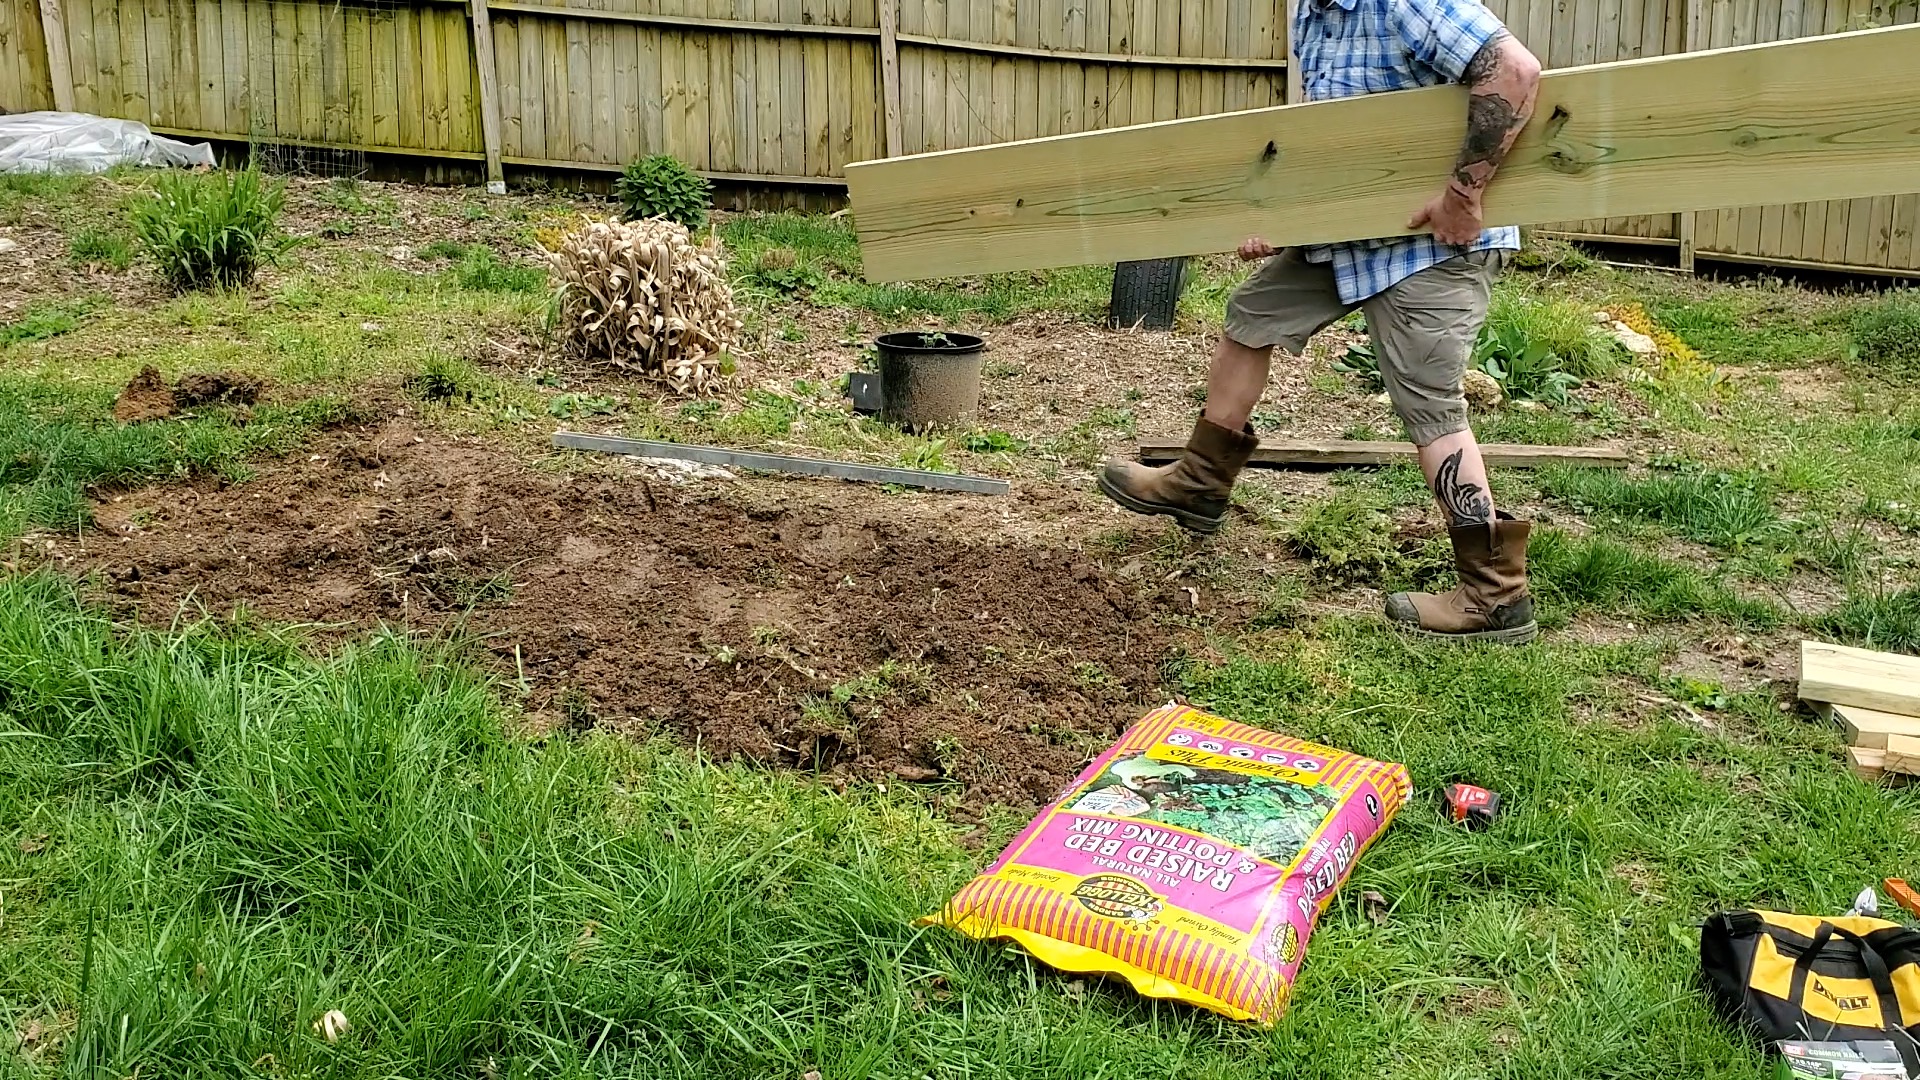
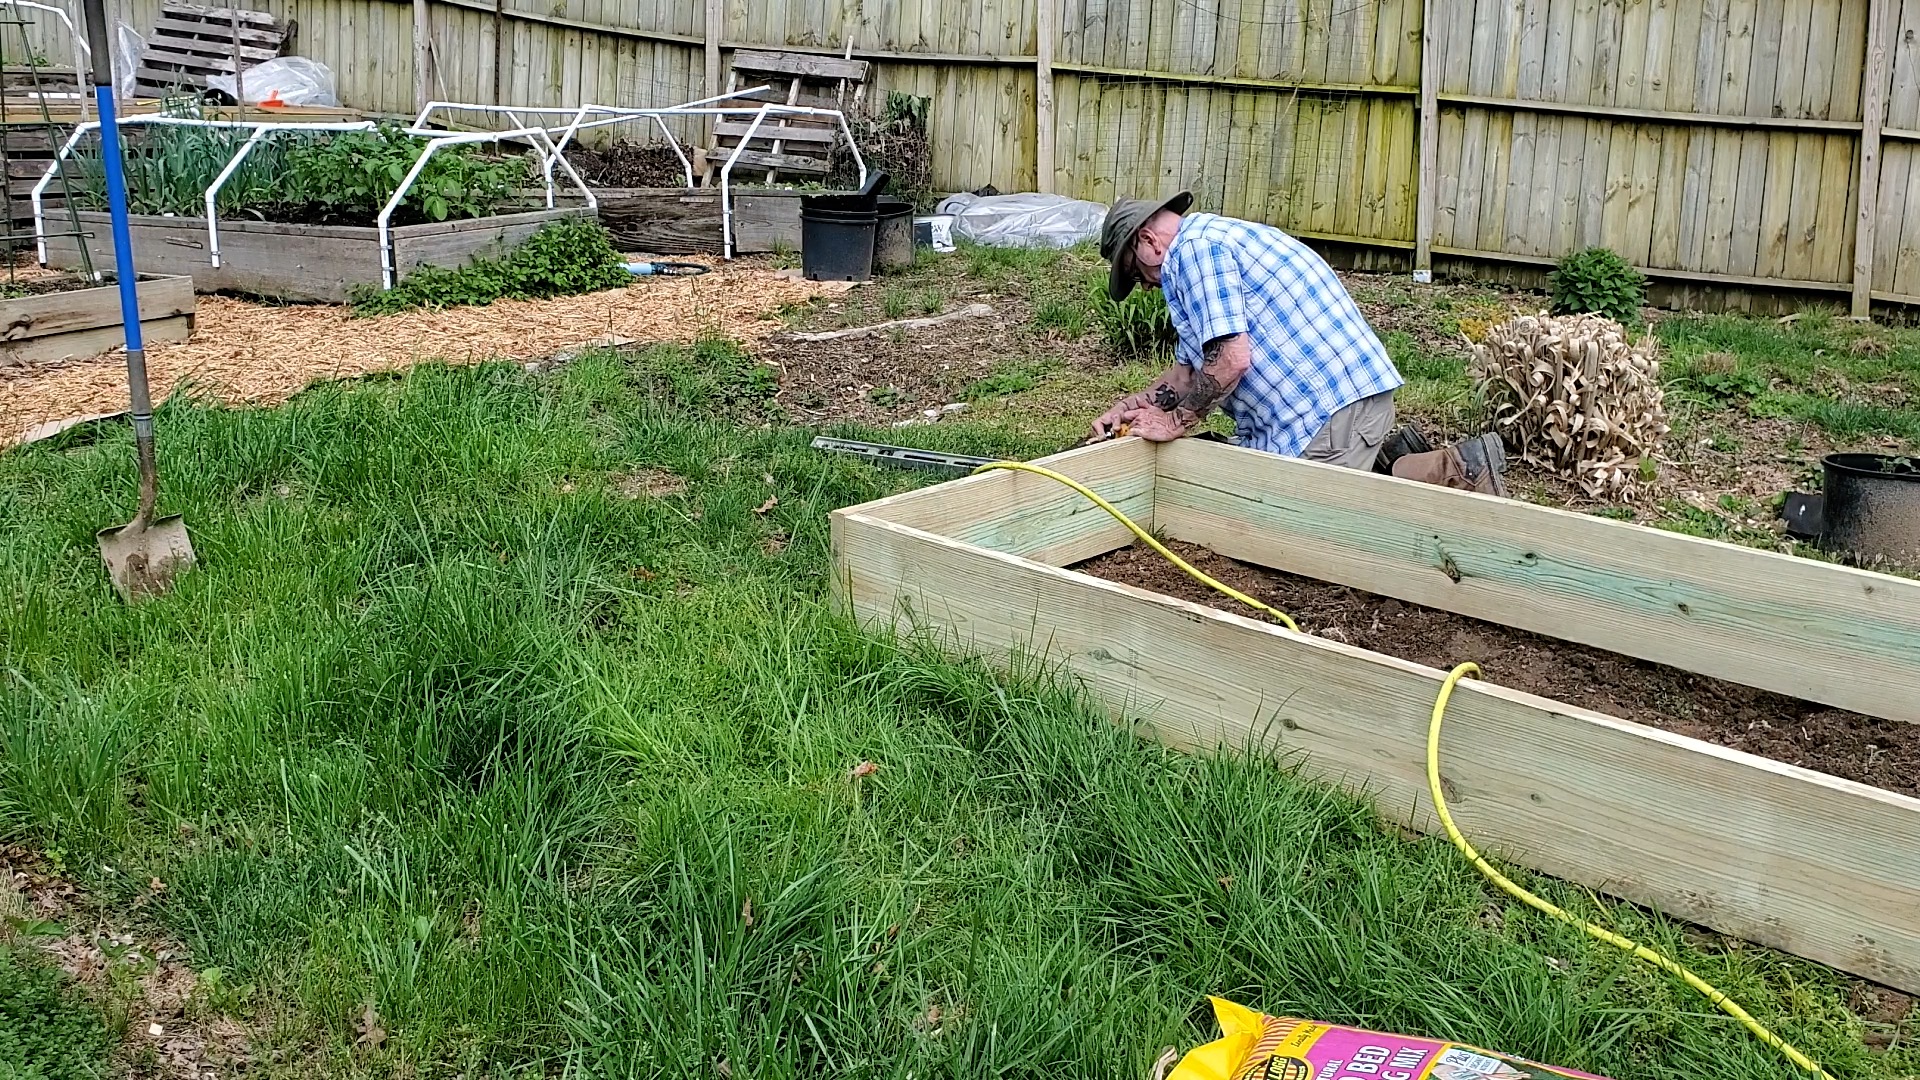
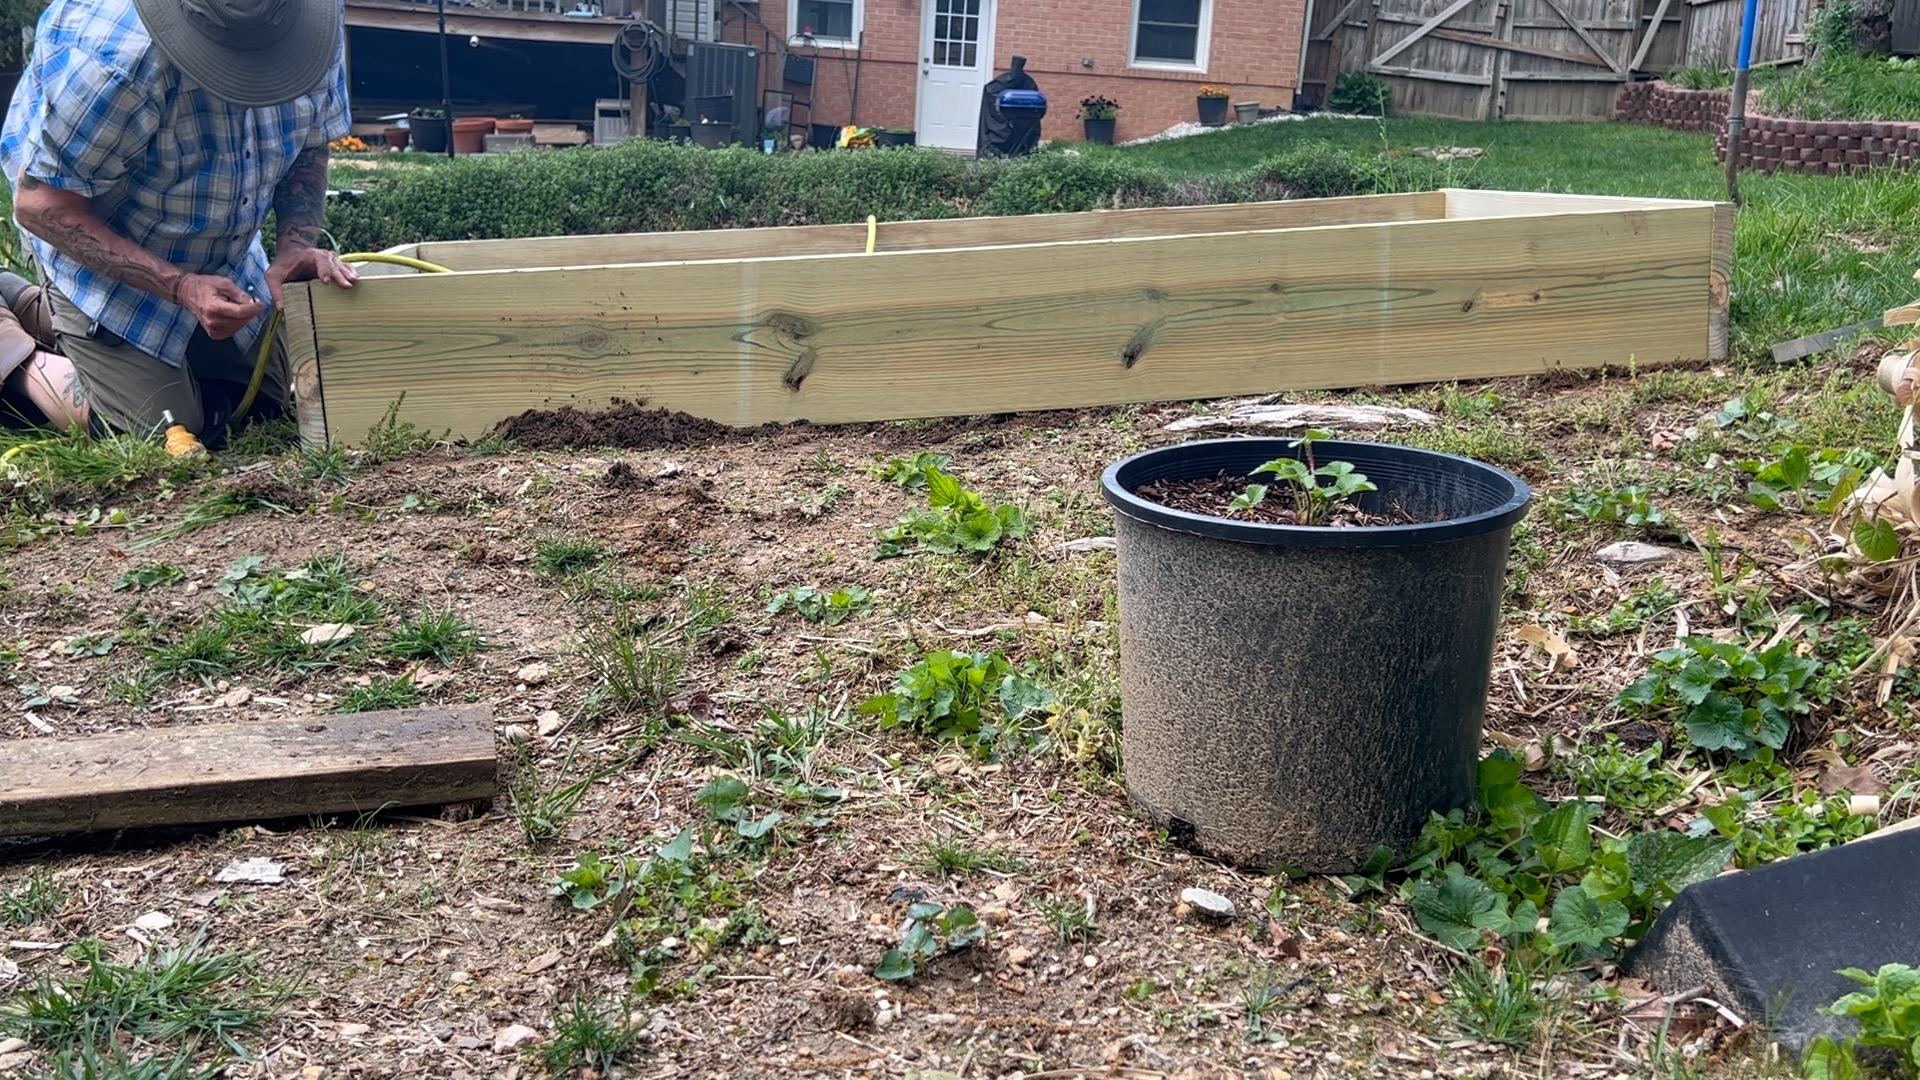
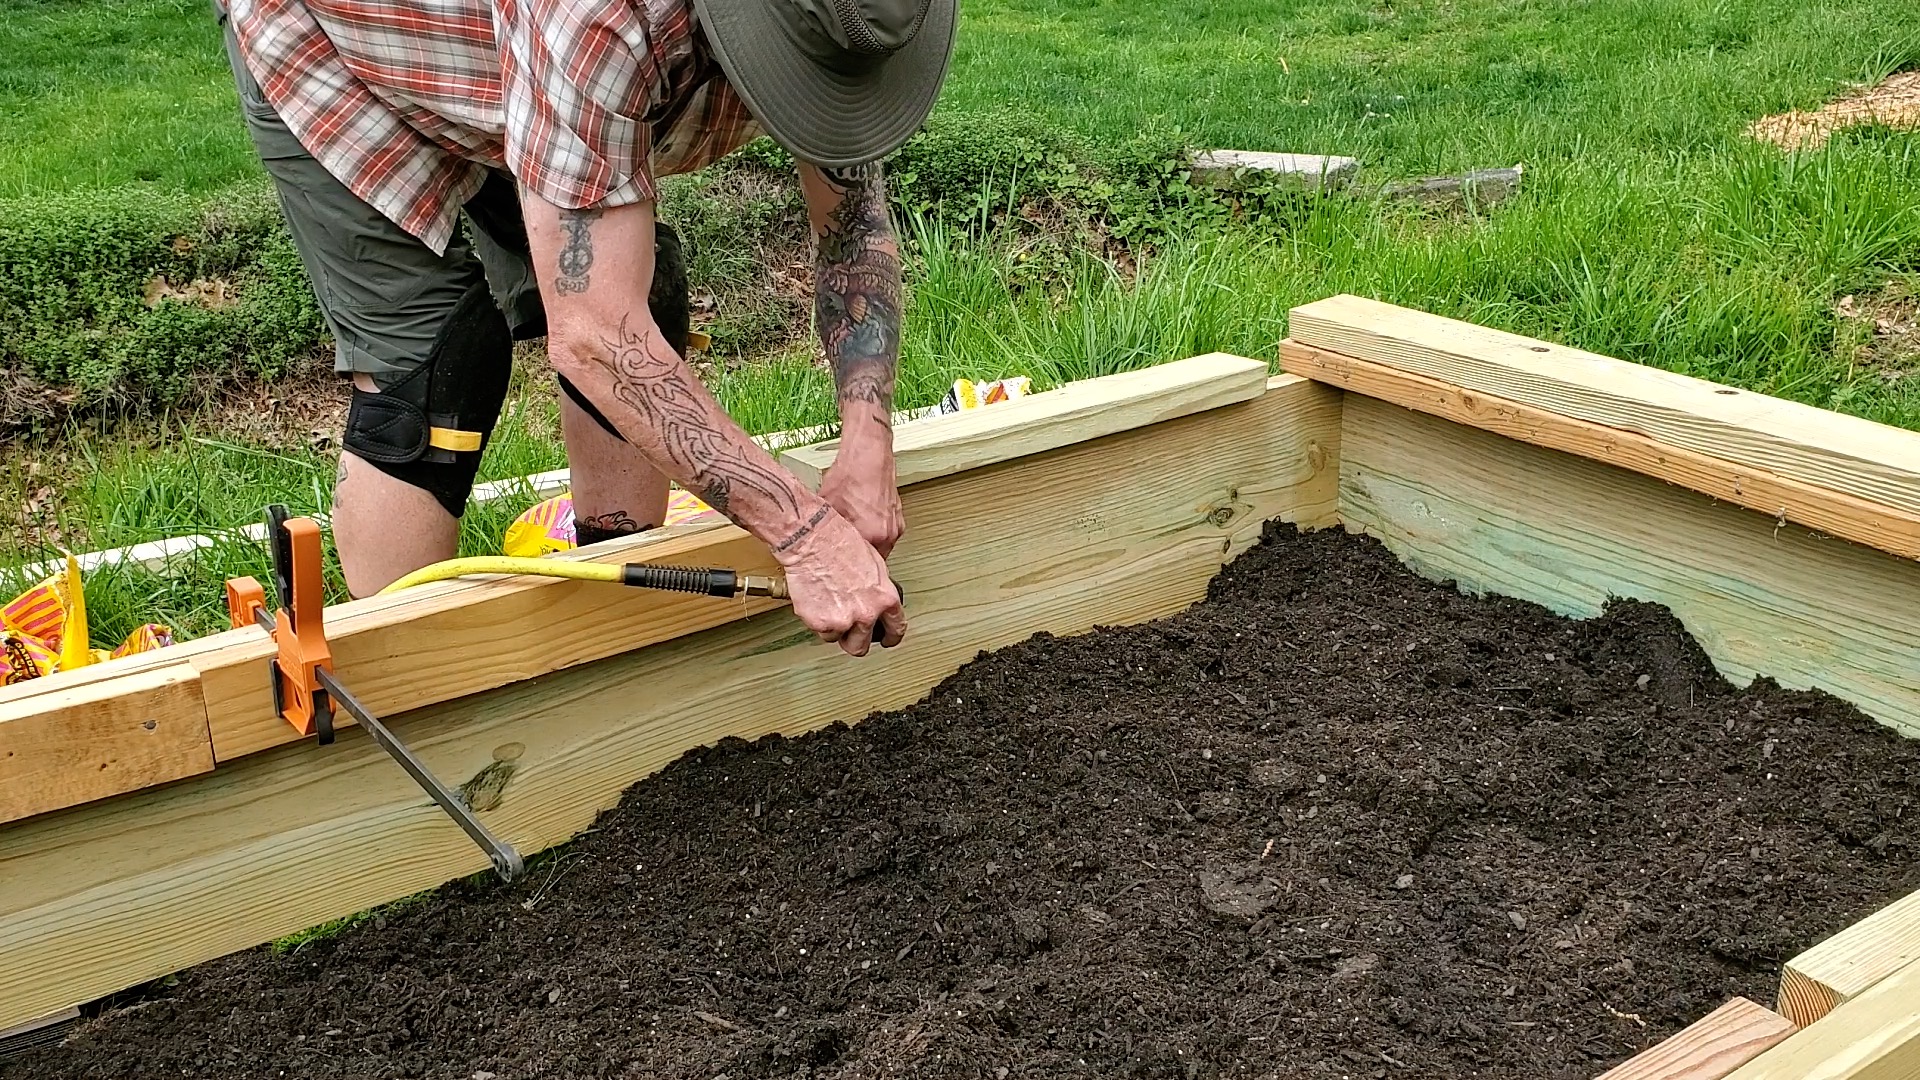
- Make any final adjustments to the position of the raised bed in the desired location, mostly ensuring it is level. In our particular scenario, we had to raise one side about 10 inches which we accomplished using existing dirt, a couple of bricks, and a couple of legs fashioned from the scrap. We ended up tow nailing the legs to the underside of the bed right on the ledge.
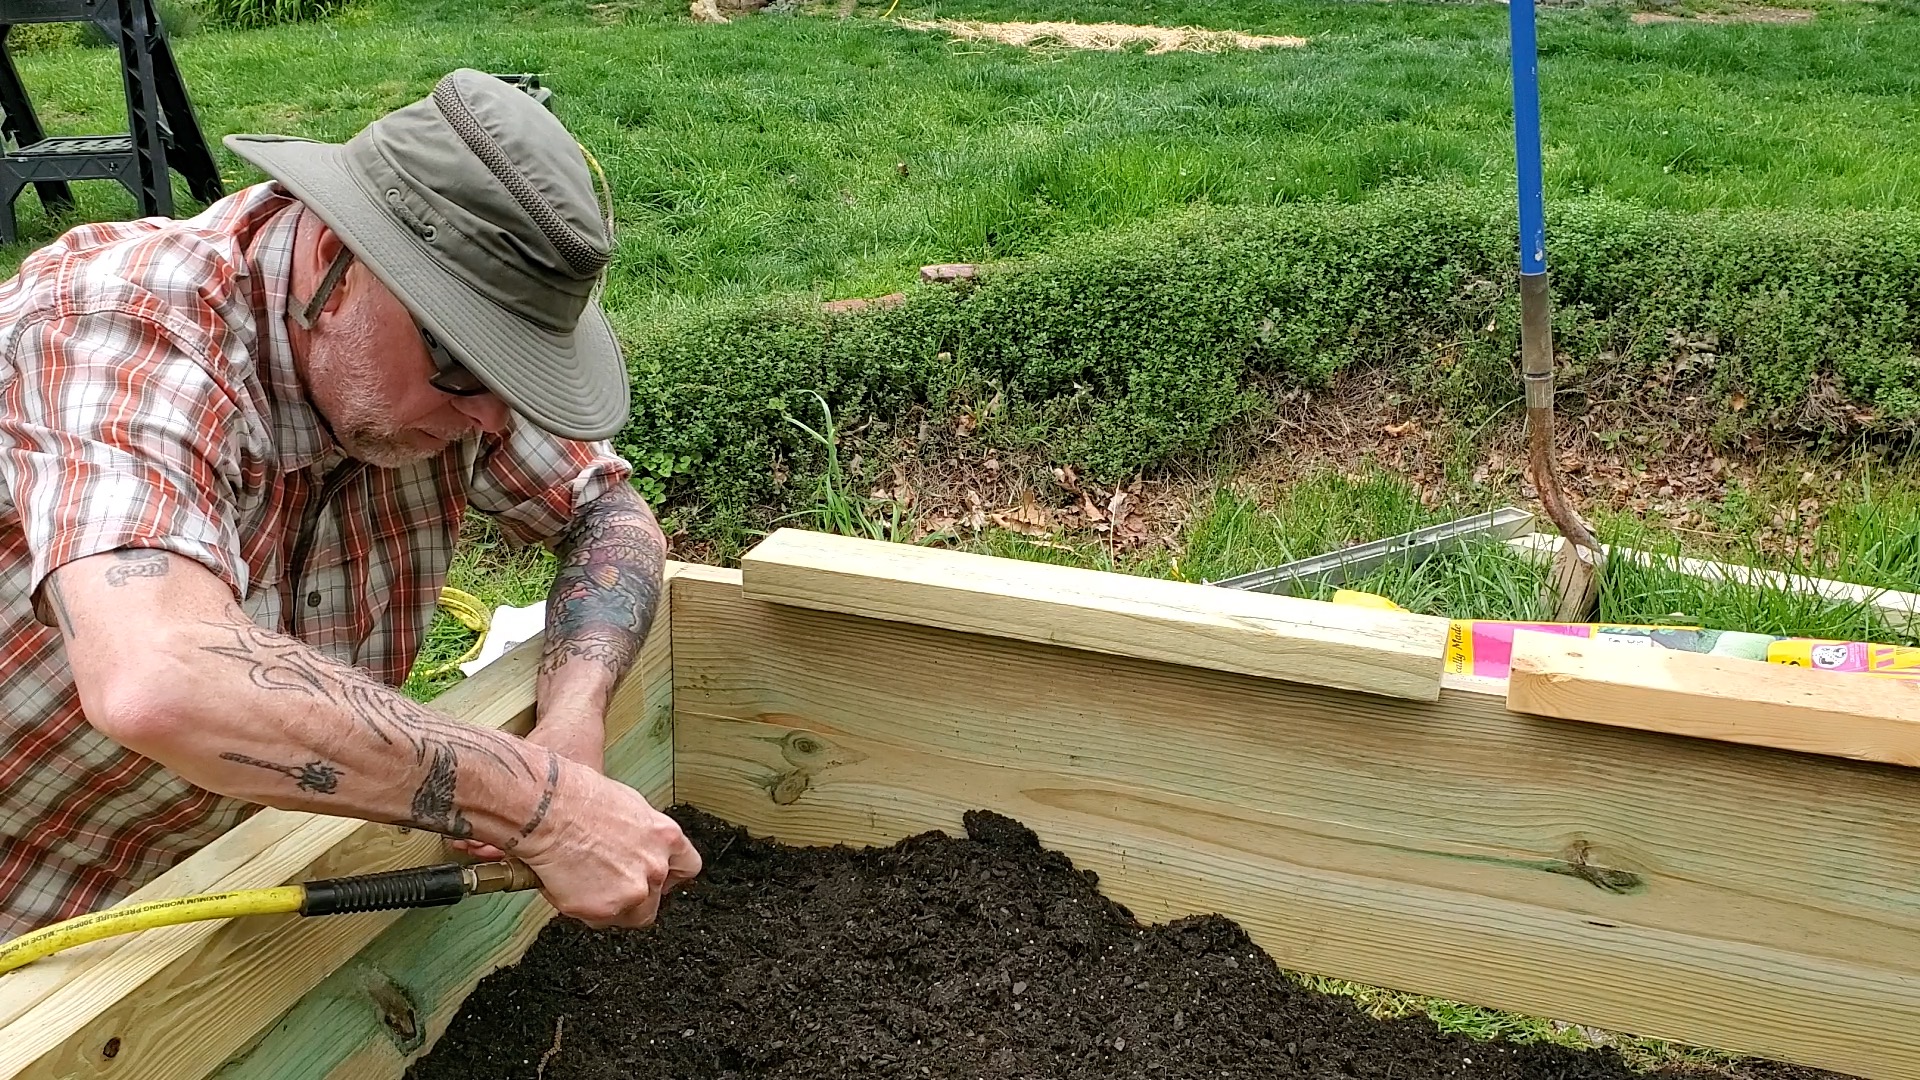
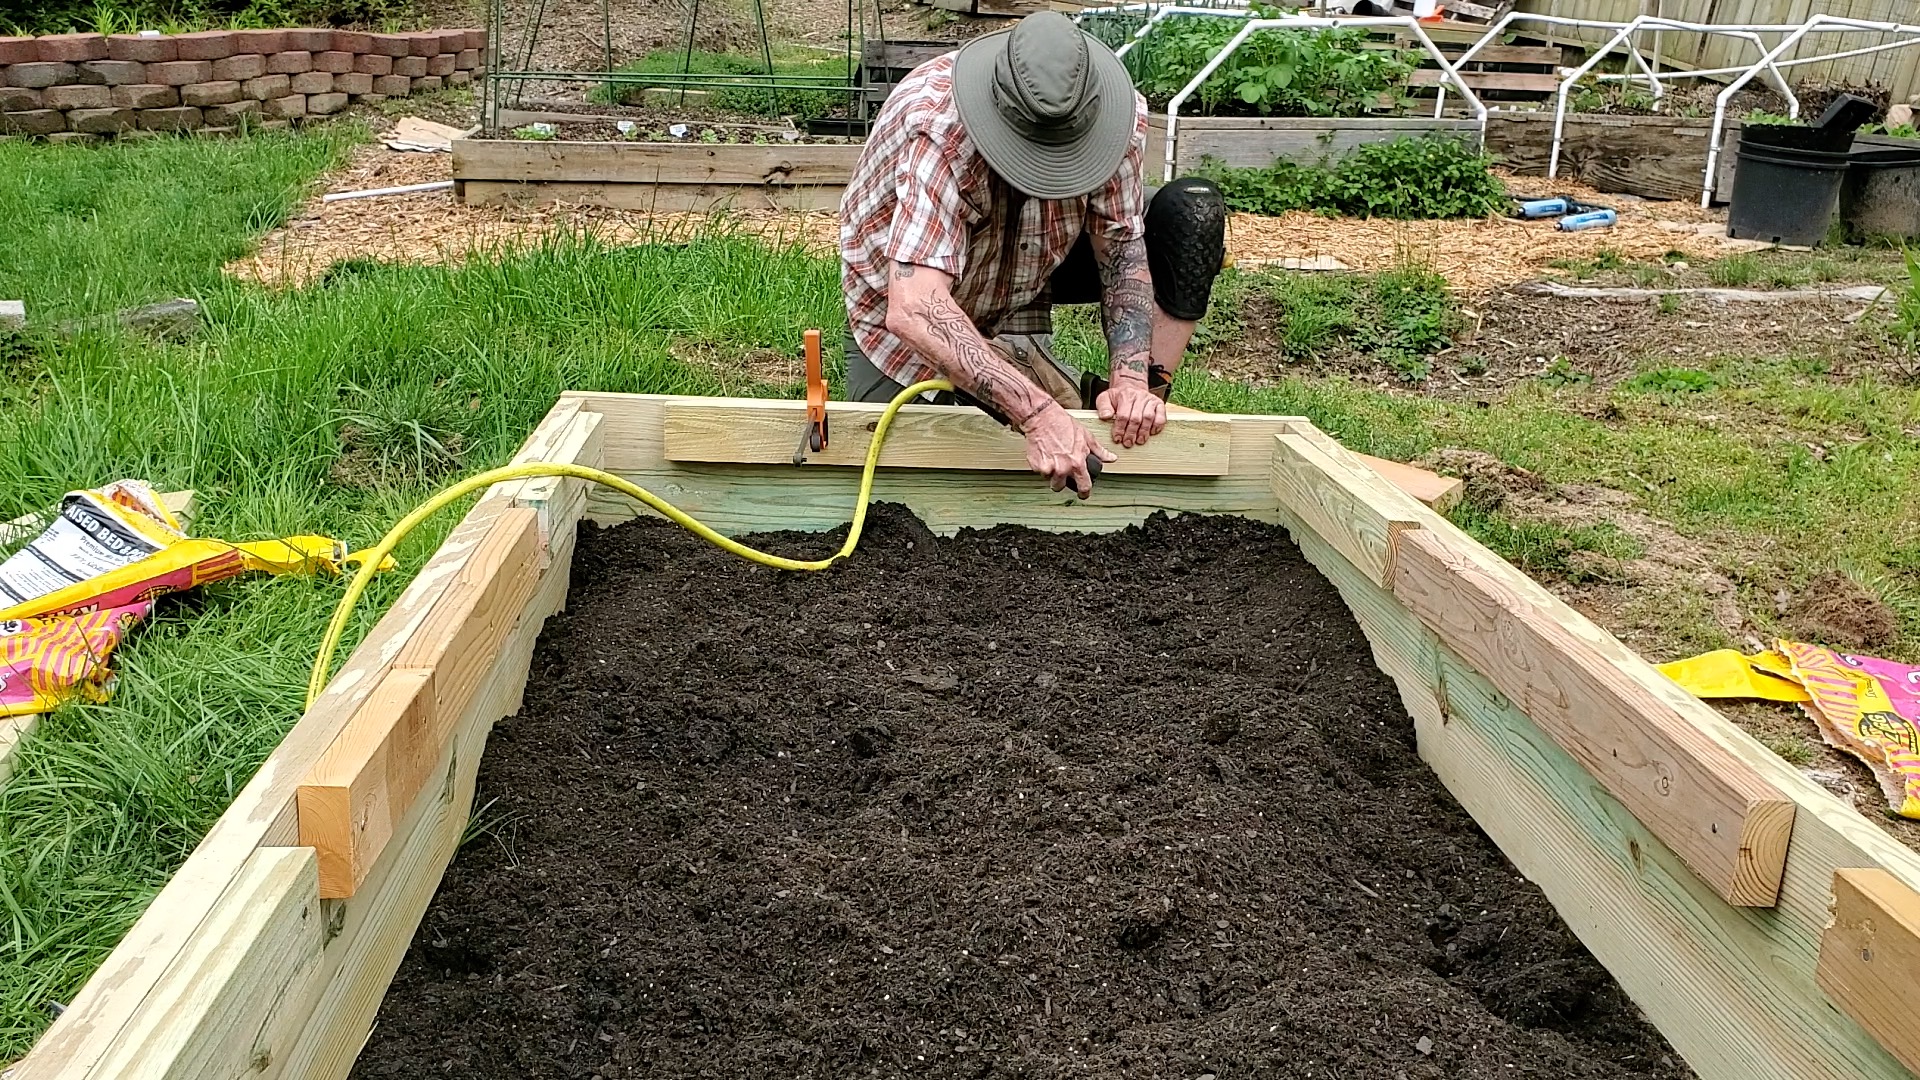
- Fill the raised bed with the 25 bags of 2 cubic feet organic raised bed soil which is preferably Kellog brand. Spread the soil evenly, filling the entire bed. As you are filling the bed, make sure the soil is loose and break up any clumps with a hoe, shovel, or your hands.
- Water in the soil well and cover it if you need to prepare it for germinating seeds.
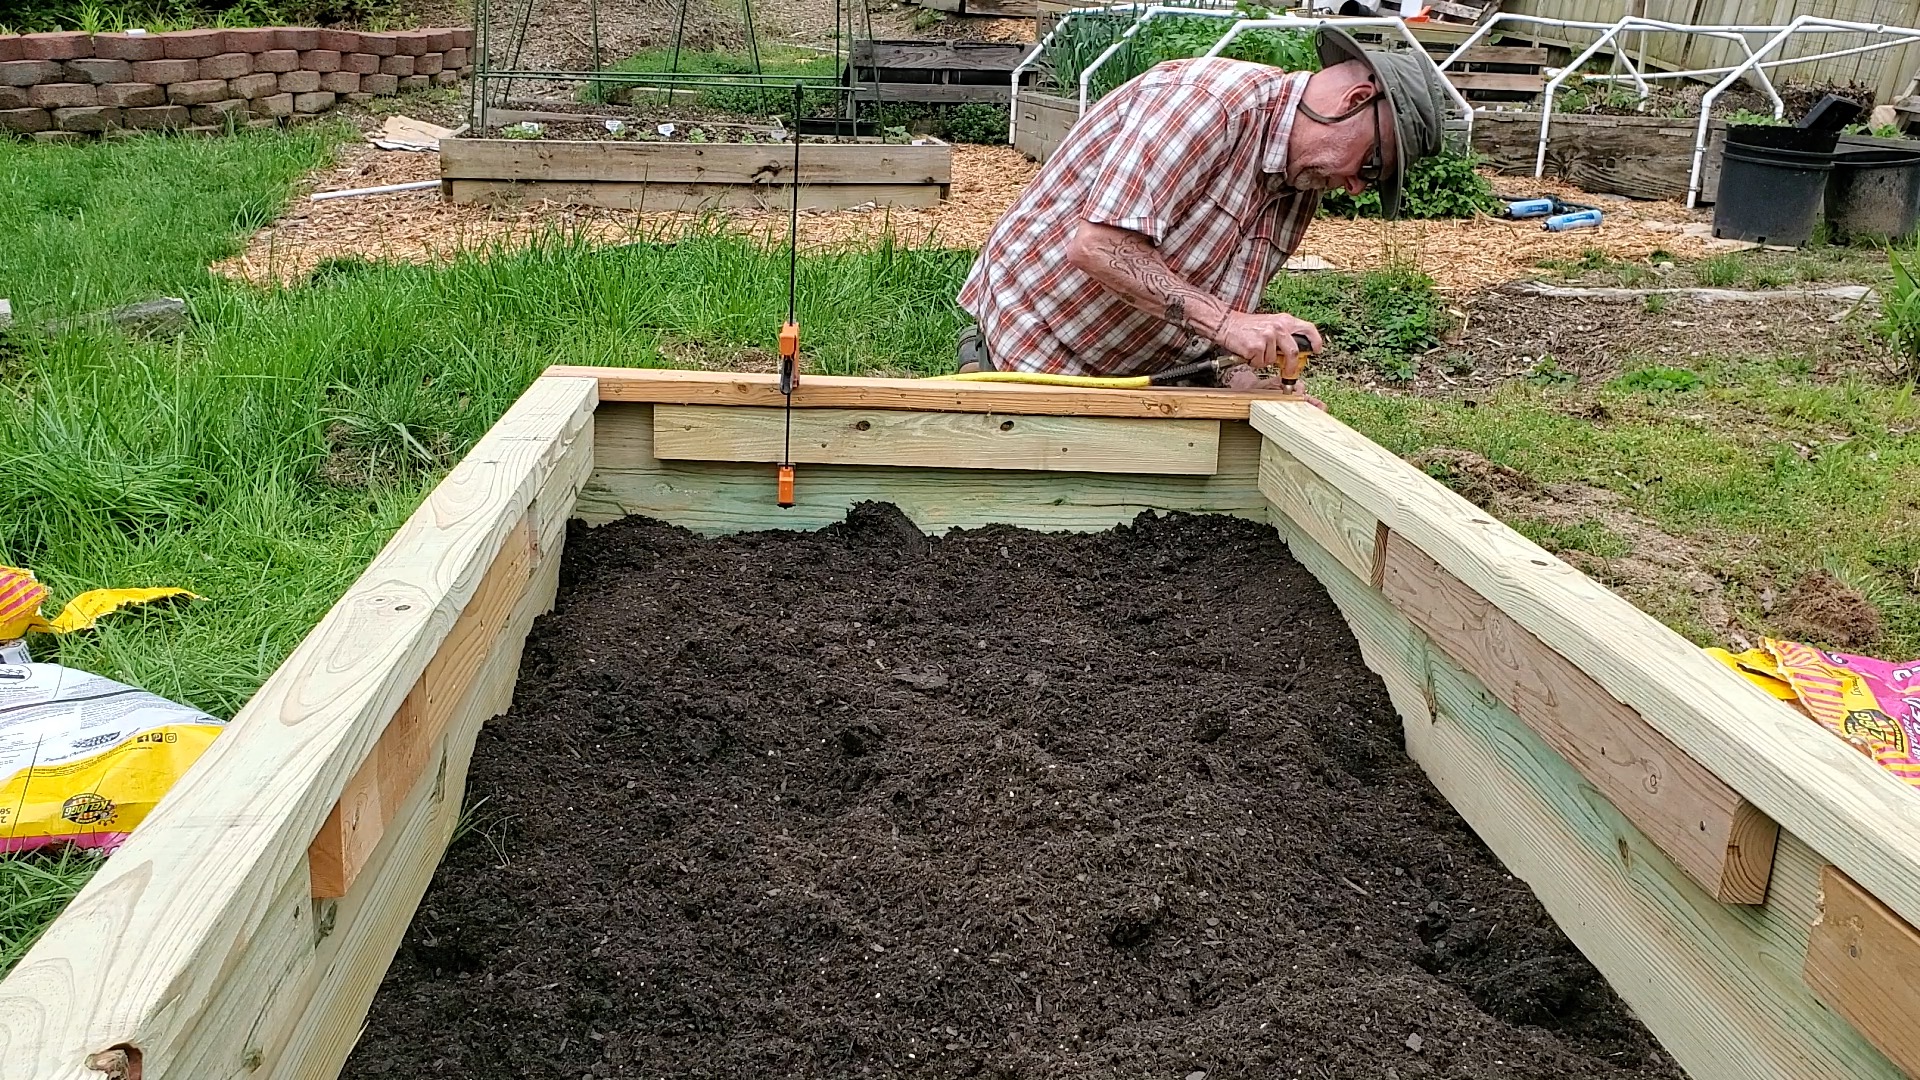
- Your 4-foot x 8-foot raised bed garden with perimeter ledge is now ready for planting!
Frequently Asked Questions
How much is this going to cost me?
Short Answer: $355
Long Answer: If you want the beds to last for many years to come or if you live in an area with a harsher climate, you will want to use pressure treated wood. Considering you’ll need six 2″ x 4″ x 8′ planks which typically run around $6 each, along with three 2″ x 12″ x 8′ planks which typically run around $23, lumber will cost around $105. You might be able to get away with using untreated wood for about half that cost.
Now let’s talk about the soil. We bought 25 bags of the 2-cubic feet Kellogg all natural raised bed and potting mix from the Home Depot for $10 each which makes the soil around $250. Again you can use non-organic raised bed mix and save a bit of money there, too. The nice thing is that Home Depot now offers a 10% Military discount so we saved $25 which is almost 3 bags of soil for free.
Do I have to use cardboard in the bottom?
One does not necessarily need to line the bottom of the raised bed with cardboard. The cardboard will help eliminate any potential weeds or grass from growing into the bed and will break down over time. We do not recommend anyone use landscape fabric as it will get punctured over time.
Do I have to use hardware cloth in the bottom?
We use hardware cloth because we have moles occasionally infiltrate our yard and they could burrow up into the raised bed itself. The other benefit is it helps keep out chipmunks and voles. It is strongly recommended that you follow the same practice, however, it is not completely necessary.
Do I have to use pressure treated wood?
Pressure treated wood is the best choice for this application, however, you could use non-pressure treated and we have even built raised beds with leftover unfinished shiplap! Please see the first question.
What kind of soil should I use?
Over the years we have tried putting together our own soil blends with limited success. Depending on what you are planning to grow in your bed, you might need a special mix. We have found that most raised bed mixes work well but we are extremely loyal to the Kellogg organic raised bed mix as it performs the best and is the most versatile.
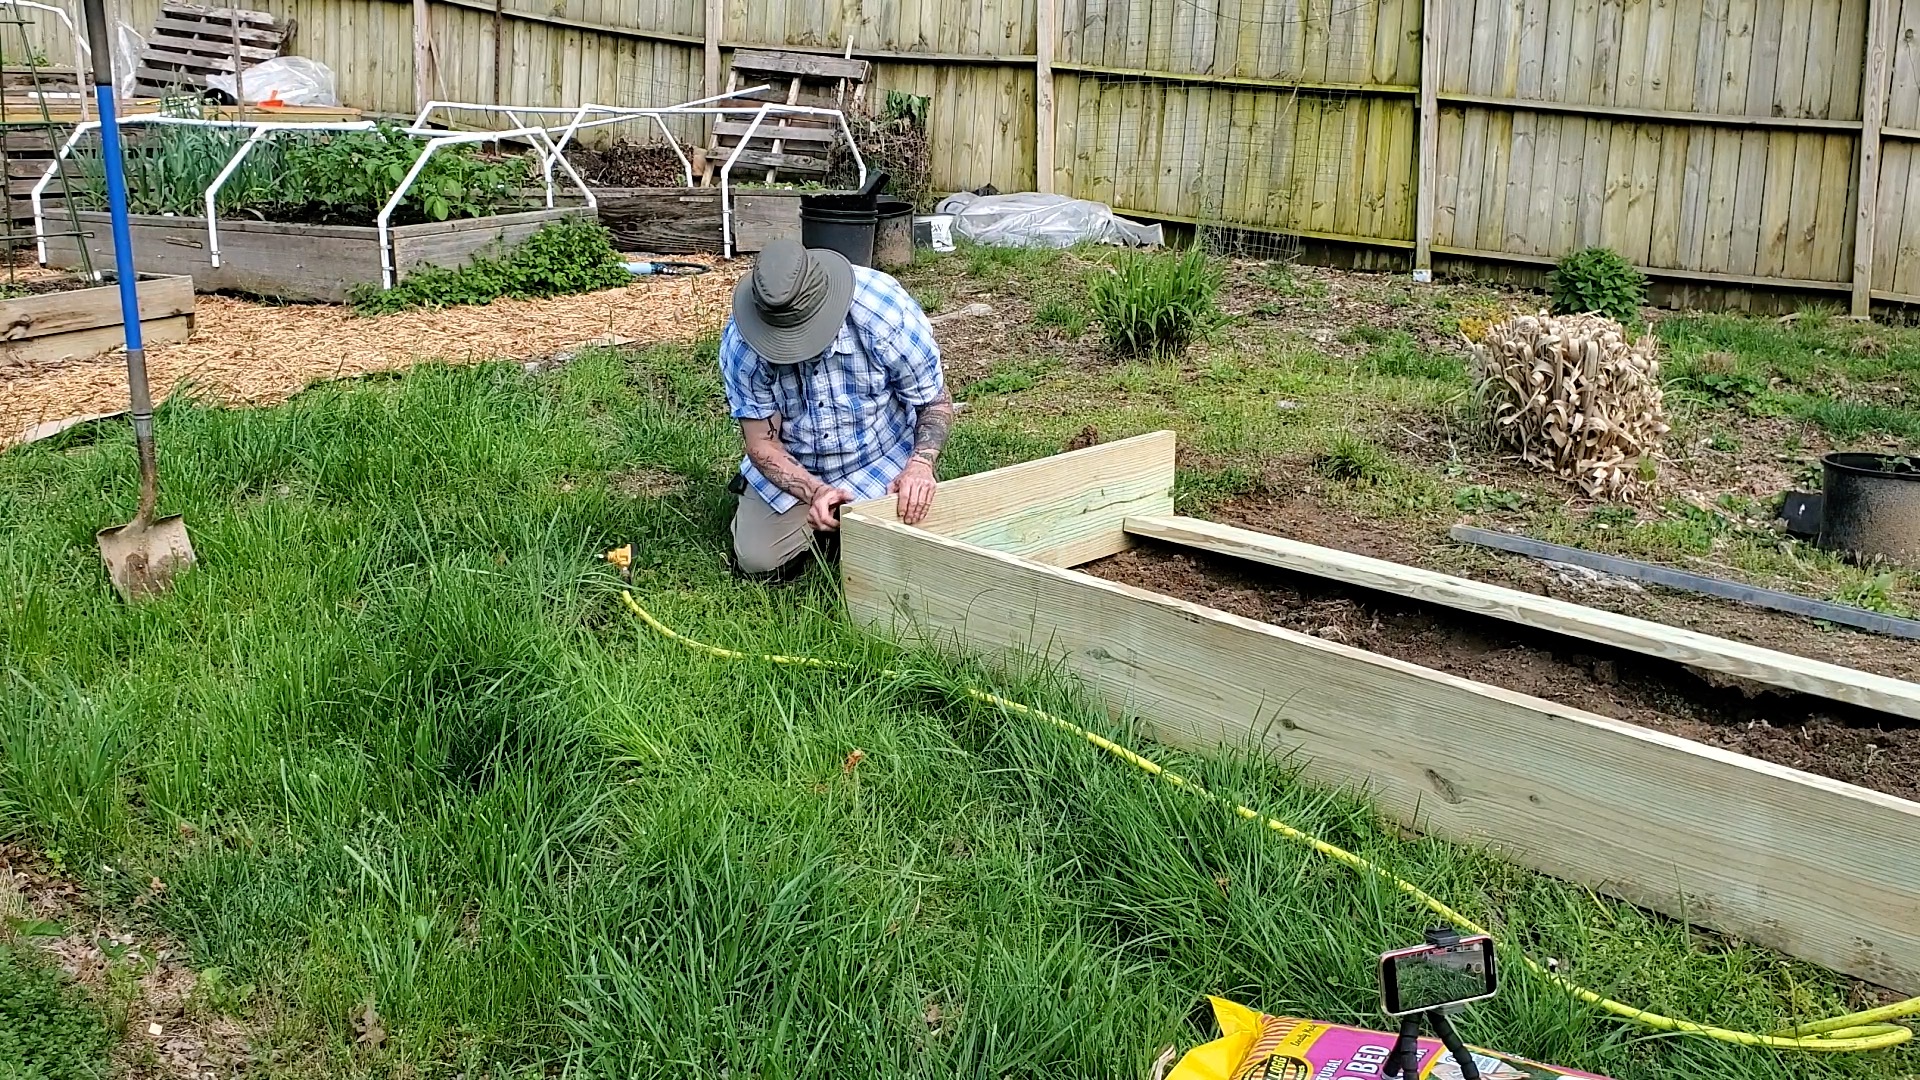
Where should I put this raised bed?
Depending on what you are wanting to grow in the raised bed, you will want to position it where it gets the appropriate amount of sun. The raised bed pictured above was located in an area of our yard that receives the most sun throughout the day.
Conclusion
If you have any questions on the plans above, please leave a comment below. Also check out our YouTube video on building this 4-foot x 8-foot raised bed.
Shawn: “Bad Gnome, any final thoughts on the plans or pics?”
Bad Gnome: “Nope. It looks pretty good to me. Do we have to split the beer credit on this one?”
Shawn: “Nope. It’s all yours.”
[…] Please check out the Bad Gnome Gardening Channel on YouTube when you get a chance but for now enjoy these videos and check out the blog post that contains the plans: […]
[…] Gnome, your favorite curmudgeonly garden dweller, here to report from the grounds of the esteemed Delta Bed. Today, we delve into the world of radishes, our colorful and quirky companions who’ve grown […]